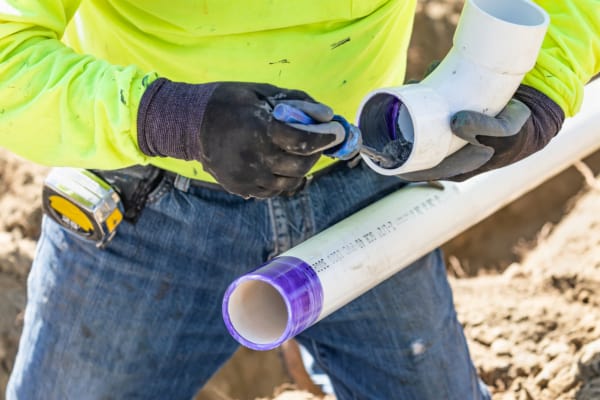
Pilot clamps deliver better results when drilling holes in pipe on the job site
Pipefitters of all kinds rely on a variety of tools to modify pipe in the field. But with a range of pipe diameters and thicknesses available, one task often remains difficult with standard tools: precisely drilling holes in the pipe.
In this article, we look at the pilot clamp, a tool used with a hole saw to put holes in pipe in exactly the place and at exactly the angle needed.
Portable pilot clamps guide hole saws to drill holes in pipes of varying thickness and diameter
Pilot clamps simplify pipe-fitting in the field. They fasten to any type of pipe, including those used for fire sprinkler systems, sewage removal, and potable water. By using a clamp head with two jaw-like ends, the clamp acts as a hole saw guidance system that can guarantee accurate hole placement. These kits accommodate various sizes of hole-saws and guide bushings.
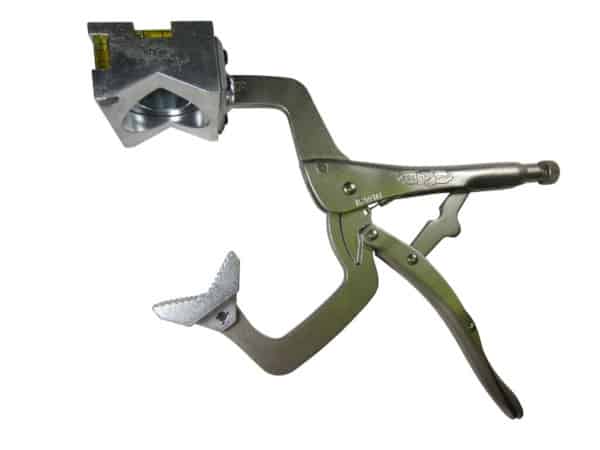
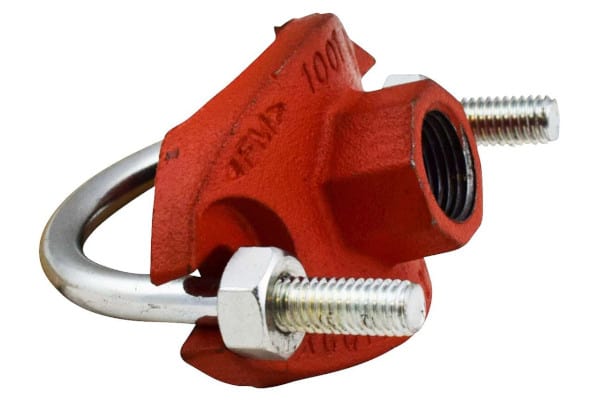
Pipefitters utilize pilot clamps for day-to-day assignments that require consistent and accurate drilling on-site. Although anyone can use a pilot clamp with a simple household drill, qualified and trained pipefitters typically use them to make holes for mechanical tees, crosses, welded outlets, threaded outlets, and devices designed to detect changes in flow or pressure within piping systems.
These clamps are best for adjusting or fixing currently installed pipe systems. They are not typically used for pipefitting in shops, where larger and more powerful machine tools are available. But the results of drilling with a pilot clamp can mimic those seen in a shop-fabricated pipe, making the pipefitter’s task that much easier.
Pilot clamps drill holes in six easy steps
These six steps can help users of pilot clamps drill with accuracy and ease:
- Measure the size of the pipe.
- Take that measurement and use the hole size chart to determine an appropriate hole saw size. Pilot clamps drill holes up to 2 inches in diameter and can guide hole saws through pipe up to 4 inches in diameter.
- Attach the hole saw guide and bushing, then center and fasten the “vise-grip” like clamp head onto the pipe, squeezing together the handles until locked into place
- Adjust the clamp or pipe as needed to center the bubbles in the built-in levels.
- Position the drill and the guide bushing.
- Carefully begin drilling into the pipe until desired results are achieved.
In the field, the process of using a pilot clamp looks something like this:
Pilot clamps drill holes in six easy steps
A pilot clamp’s greatest attribute is its adaptability to different sized pipes. Our complete kits, for example, feature six interchangeable hole-saw guides in six sizes between 1 inch and 2 inches. These kits also include Lenox Bi-metal hole saws, Lenox arbors designed to fit standard drills, and a pilot bit.
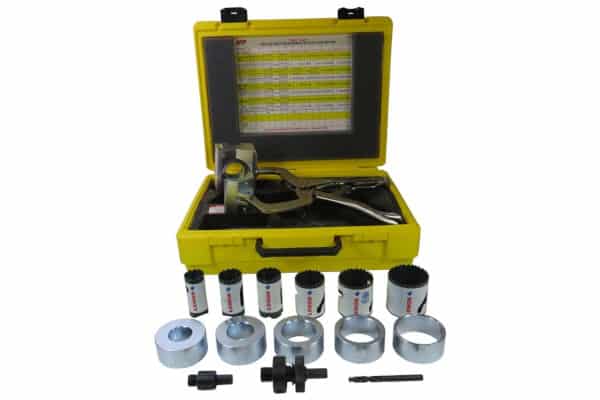
QRFS supplies pilot clamp kits and replacement parts designed to drill holes horizontally or vertically behind walls, between trusses, and in other confined spaces with nearly any drill. Our portable kits are an effective tool for expanding an existing hole or drilling a new one.
Questions about pilot clamps or our pilot clamp kits? Call us at (888) 361-6662 or email support@qrfs.com.
This blog was originally posted by Jason Hugo and Cameron Sharp at blog.qrfs.com on June 17, 2016, and updated on April 20, 2019.


