

If concealed sprinkler cover plates get lost or damaged, putting in new ones is usually easy
Some people believe the most attractive fire sprinklers are those that remain unseen. Enter concealed fire sprinklers that hide behind sprinkler cover plates, which can also help protect heads from dust and accidental activation.
Occasionally, cover plates need to be replaced, whether it’s because they get damaged or painted or go missing. Here’s a guide to why and how, including steps to do it:
- Cover plate basics and choosing the right replacement parts
- Reasons to replace concealed fire sprinkler cover plates
- Types of cover attachments and a step-by-step guide to replacement
- Installation tools
Are you in need of replacement fire sprinkler covers or sprinklers? Shop QRFS’s selection of concealed cover plates, installation tools, concealed pendents, and concealed sidewalls. You can also use the QRFS Quick Finder to quickly ID the parts you need!
Fire sprinkler cover plate basics and why it’s essential to choose the right replacements
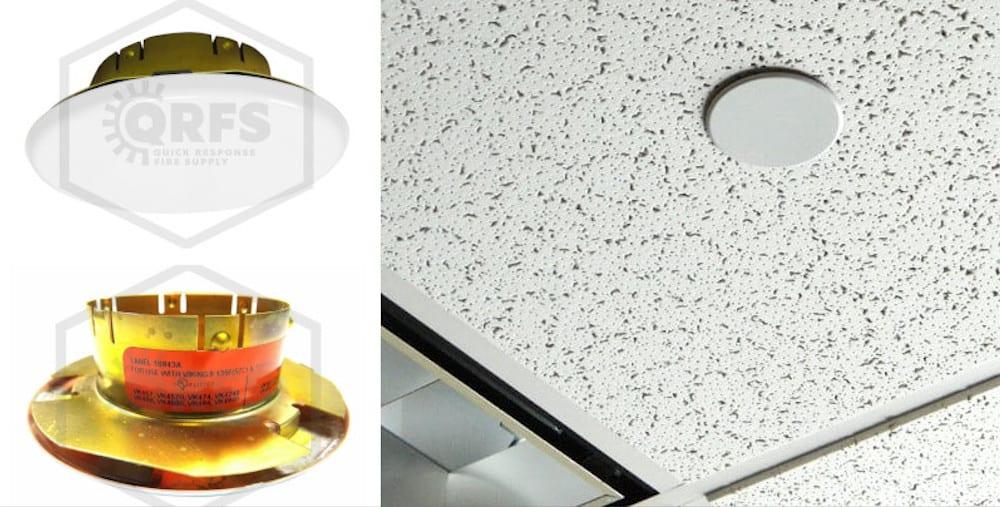
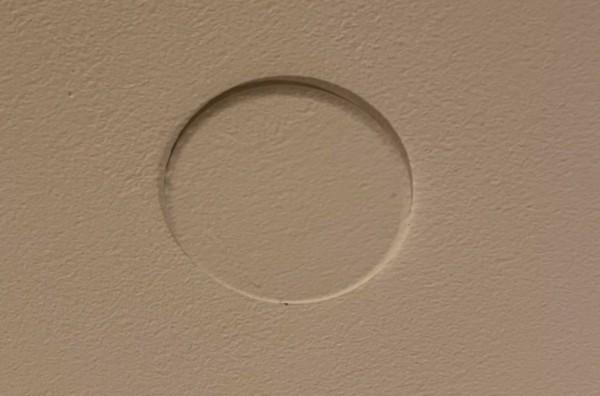
Concealed fire sprinklers look a lot different from non-concealed heads. Notably, they have a cup on the outside of the sprinkler assembly, and everything hides within a ceiling or wall behind a cover plate.
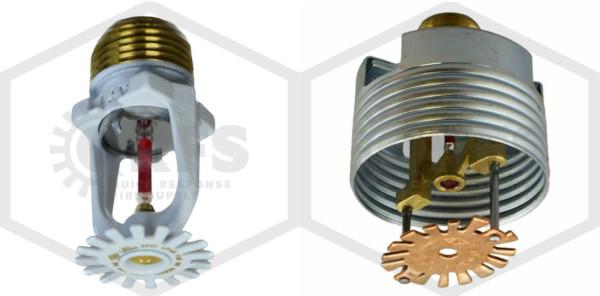
The cover plate (also known as a concealer, cap, ceiling plate, or cover) is a decorative metal fixture with its own projecting cup that pushes or twists inside/around the concealed sprinkler’s cup.
There’s a temperature-sensitive element inside every cover plate—a meltable metal link or tabs—with a lower activation temperature than the sprinkler, usually by 10-20 degrees. When the heat in the room reaches the activation temperature of the cover plate, it falls away, leaving the fire sprinkler exposed and ready to deploy.
There are strict rules that require matching cover plates to fire sprinklers. National Fire Protection Association standards, including NFPA 13 and NFPA 25, specify that cover plates must be “listed” (tested and approved by known safety organizations) and matched to specific sprinkler heads—aka “listed as part of the assembly.”
So, while covers can be various shapes, finishes, and sizes, each sprinkler only uses the cover plate model options explicitly designed for it.
If you’d like to learn more, here’s a QRFS blog about the features and variations of fire sprinkler cover plates.
Reasons to replace concealed fire sprinkler cover plates
Over time, cover plates may go missing, become damaged or worn, or need replacement because someone painted over them or cleaned them aggressively. Missing and painted covers are the most common reasons to get new ones, and enforceable standards (and the codes that reference them) require new ones.
In addition, you might just need to briefly remove a cover plate from a concealed sprinkler to check the sprinkler identification number (SIN) to identify the head. Or maybe someone is doing a periodic inspection of the concealed sprinklers. Whatever the reason, knowing how to remove and reinstall cover plates is a good idea.
Again, before you do anything with cover plates, remember that each concealed fire sprinkler has ONLY SPECIFIC cover plates that fit.
Fortunately, there are several ways to ensure you select the correct covers for your sprinkler. If you know the sprinkler’s SIN, you can identify its matching cover plates and tools by checking the specific QRFS product page, the manufacturers’ sprinkler data sheet, or the QRFS Quick Finder.
Types of cover attachments and three easy steps to replace them
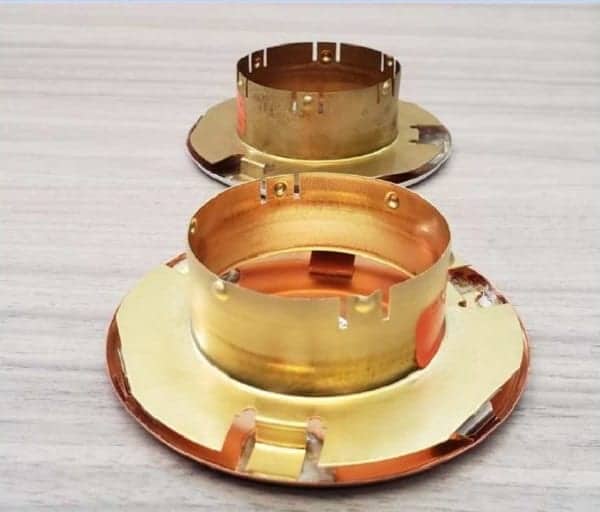
The precise action to replace or remove a fire sprinkler cover plate depends on the type of attachments between the sprinkler and the cover. Most are either:
- Push-on, pull-off, with tabs that snap into place when pushed
- Twist-on, twist-off, with threads
Some manufacturers give you a choice of attachment style. The threaded options offer a bit more stability in environments prone to vibrations (e.g., around heavy machinery or in earthquake-prone areas).
Here are the steps for replacement:
Step 1: How to remove a fire sprinkler cover plate.
If a cover spins and offers no resistance when you try to twist it, it may be the push-on, pull-off type that can be removed by using slight force to pull the cover from the sprinkler body. Fingertips may work since there is frequently a little gap between the cover and the ceiling or wall. However, a fire professional states people often “take a flat-blade screwdriver and kind work your way around it, like popping a top off of a bottle,” followed by gently pulling it out.
If a cover responds after careful twisting, it is threaded. Three or four turns should remove it.
If the cover has been painted over, it may be necessary to use a blade to break the seal. Individuals removing covers should always be careful; the watchword here is “gently.” Using improper tools or excessive force could damage or activate the sprinkler. Anyone who is not “qualified,” as NFPA specifies, and has any doubts should contact a fire protection professional.
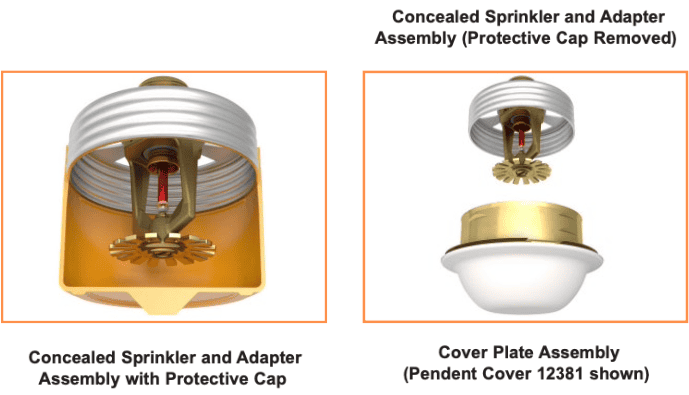
Step 2: Get the right cover plate into position.
Place the cover plate into position over the base of the sprinkler, with the projecting inner cup fitting into the sprinkler cup. By now, it should be clear why only the perfect, listed match will do.
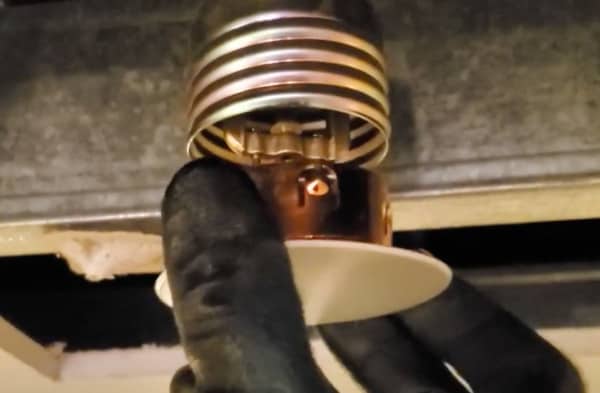
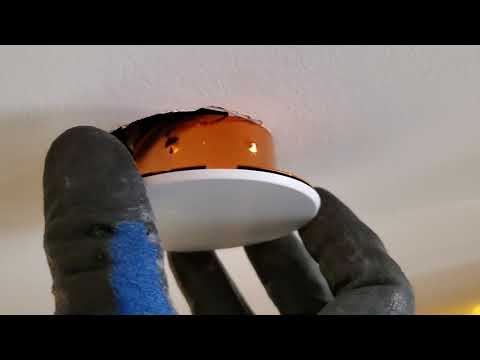
Step 3: How to install a fire sprinkler cover plate.
Push in or thread the cover plate into/around the sprinkler cup. Use even, gentle pressure to either push or twist the cover into place.
This step is where covers are adjustable to accommodate the distance between the surface and the sprinkler’s position. Twist a cover until it gets close to the ceiling or wall; if pushing, you will feel the tabs snap in place.

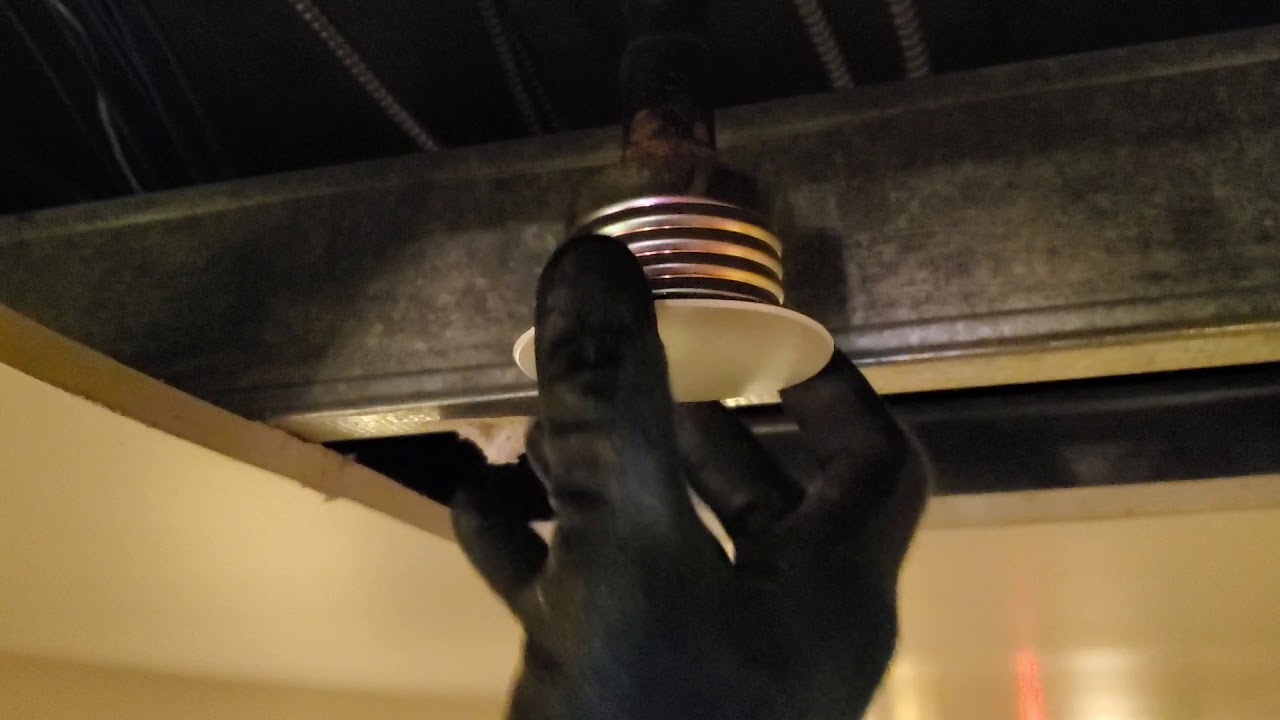
This brief, helpful video from Sprinkler Fitting Canada shows how easy this last step is for a twist-on model installed on a new concealed sprinkler:
So does this one, shown without the ceiling tile installed:
Installation tools
Some manufacturers offer installation tools to make replacing cover plates easier and more efficient. These devices, some of which also remove the protective caps on new sprinklers, are especially helpful for fire safety contractors and facility managers who may have to install or replace numerous covers.

Many tools, like these from Viking and Tyco, can be attached to a PVC pipe or painter’s extension pole to extend the reach and eliminate the need for a ladder. When choosing these devices, it’s important to note that they are also manufacturer- and model-specific and must match the cover plates.
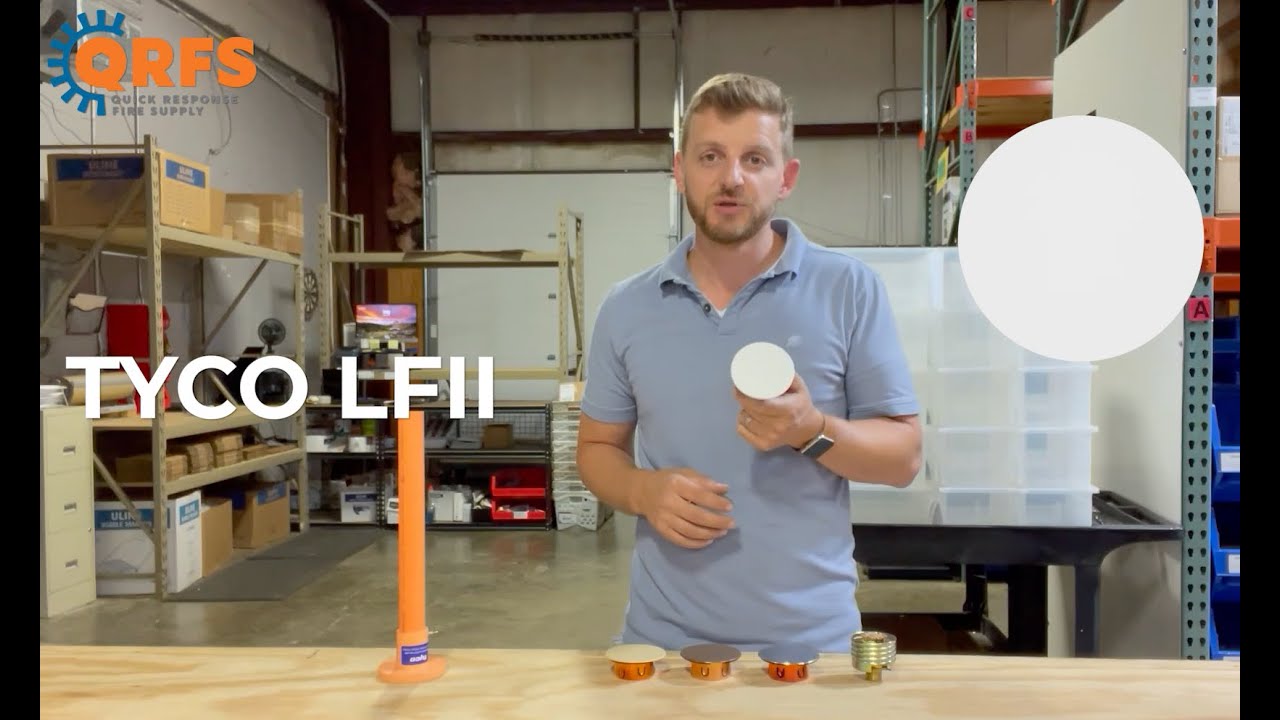
This QRFS video shows how easy it is to put on Tyco’s push-on LFII cover plates and how the installation tool works:
To learn more, check out this QRFS blog about using cover plate installation tools.
Covers usually aren’t difficult to replace as long as you follow the rules
If you need to replace your concealed fire sprinkler cover, remember these three points:
- You must replace the cover plate with a SIN-specific cover plate.
- If you cannot find an identical replacement—usually because a sprinkler and cover are old and discontinued—you will have to replace the entire sprinkler assembly.
- If a cover plate is not painted over, installed improperly, or damaged, removing it by twisting or pulling should be easy, followed by reversing that motion to install a new one.
Anyone not qualified or sure about replacing covers properly should get professional help!
If you need replacement or new parts, check out our selection of concealed pendents, concealed sidewalls, and fire sprinkler cover plates from Reliable, Senju, Tyco, Victaulic, and Viking. For the fasted way to ID the right equipment …
Just enter the sprinkler identification number (SIN) and select the options needed, and it shows you the correct parts available for purchase.
Contact us with any questions at 888-361-6662 or support@qrfs.com.
This blog was originally posted at blog.qrfs.com.

are fire sprinklers cover plates required by calif fire code? if not accessible (in the ceiling
Joe —
NFPA 25, in force in CA, requires missing cover plates to be replaced. From the 2023 edition:
5.2.1.1.5 Escutcheons and coverplates for recessed, flush, and concealed sprinklers shall be replaced with their listed escutcheon or coverplate if found missing during the inspection.
As for a more general interpretation, cover plates are needed for *concealed* sprinklers installed in finished walls or ceilings—obviously not other (exposed) sprinkler types. We are unsure what you mean specifically by “not accessible in the ceiling.” If that refers to a missing cover high up, ladders or coverplate installation tools mounted on poles are called for.
Thanks for reading!
Do you make a VK461 with a longer shift so we can grab where it screws into. Mine seems a little short and will not engage.
I commented on the VK461
About being too short. It is the cover. I am looking for to cover the sprinkler head ..Sorry about that.
Eloy — While there are three cover plate options for the VK461 (smaller circle, bigger circle, bigger square), Viking indicates the maximum adjustment range (how far the cover can reach and move outward from the concealed sprinkler) for all these models is 1/2 inch. Thus, your ceiling may have moved (“crept”) or something else changed. We cannot assess the situation without seeing things, but a local sprinkler pro can. We suggest you contact a fire protection professional to assess why the cover plate is not fitting properly.