

Alarm bells can be installed with only a few tools, but careful wiring, placement, and testing are required
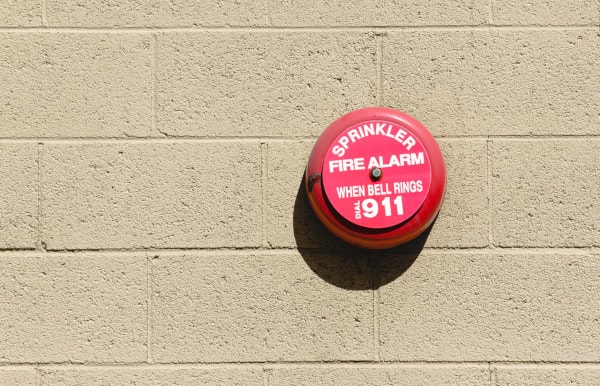
All kinds of issues can lead to the activation of a fire alarm bell—rising smoke, ambient heat, or water flow through a fire sprinkler system—but all bells ring to encourage safe and early evacuation by a building’s occupants, and proper placement is key. In this article, QRFS shows you how to safely install an alarm bell, along with a protective bell back box and bell guard, in six easy steps.
Fire safety codes and local laws may require protection against weather and impact. Browse QRFS’s selection of:
- Air-tight fire bell back boxes made to protect indoor and outdoor bells against wear
- 12″, corrosion-resistant bell guards to defend 6″, 8″, and 10″ alarm bells against nesting birds, vandalism, and light impact
- A full line of fire bells and accessories
Mount your alarm bell in six steps
Alarm bells are available in a range of brands, sizes, noise levels, and voltages. Given that variety, these instructions may be slightly different for your bell. In this guide, we show how this process specifically works with one of our own 8-inch, 120-volt AC fire alarm bells. The device we’re using features a mechanism with a simple 4-wire design sized for standard 2-gang electrical openings.
As with other electrical work, improper installation can damage equipment or harm the installer. Only qualified electricians should install a fire alarm bell.
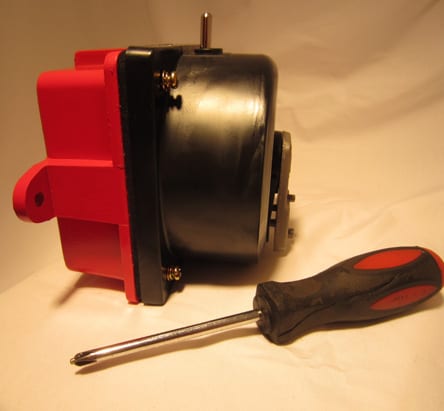
If you’re ready to start mounting, you’ll need three things: a fire alarm bell, a Phillips-head screwdriver, and an adjustable wrench. If you’re installing outdoors or in locations where vandalism and impact are likely, we also recommend you add a fire bell back box and bell guard. They’re easy to attach—and most take a one-size-fits-all approach to protecting the electronics against damage and wear.
Step 1: Find the right height
Choose a mounting height for your bell based on your manufacturer’s guidelines and ceiling height. Various installation guides recommend a mounting height of at least 8 feet (or 2.4 meters) from the floor and as close to the ceiling as possible. The National Fire Protection Association (NFPA) requires notification appliances (including devices like these) to be mounted at a height prescribed by the manufacturer.
From the 2022 edition of NFPA 72
3.3 General Definitions.
3.3.189 Notification Appliance. A fire alarm system component such as a bell, horn, loudspeaker, visual notification appliance, or text display that provides audible, tactile, or visual outputs, or any combination thereof. (SIG-NAS)
18.3.5 Mounting.
18.3.5.2 Appliances shall be mounted in accordance with the manufacturer’s published instructions.
Step 2: Remove the gong
Next, remove the red bowl, or gong, surrounding the inner parts. Most models have a short hex bolt or Phillips screw on the front of the bell near the gong’s center. Loosen the bolt and gently remove the gong.

Step 3: Wire the alarm bell
Next, shut off the power supply to the bell’s power source. Circuit breaker switches should be secured with appropriate lock-out/tag-out devices to stop other people from accidentally reenergizing the wires you’ll be working with.
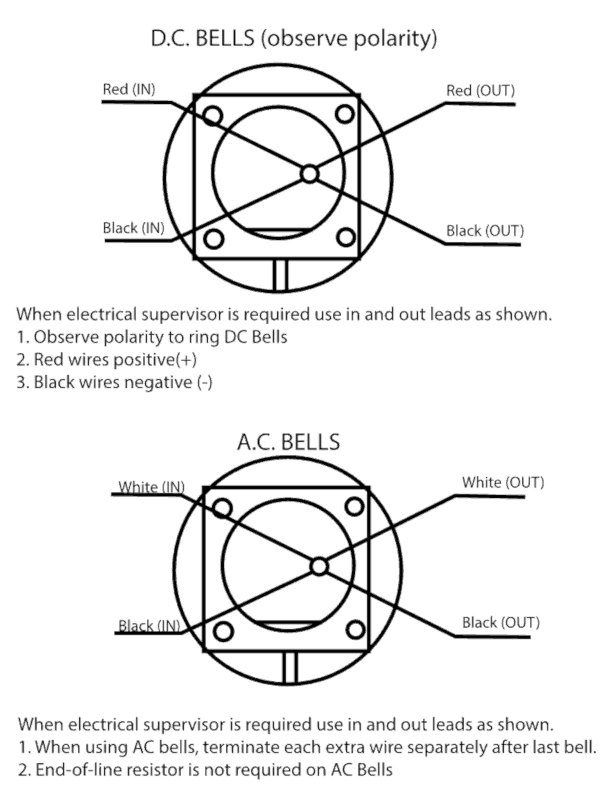
Then, connect the wires in the bell to the wires in the wall. These instructions will vary with the type of current used by the bell: alternating current (AC) fire alarm bells have different wiring schemes than direct current (DC) bells. This handy wiring guide is a suitable starting point for many 4-wire AC and DC models.
Step 4: Mount the bell to the outlet box or back box
Mount your bell to a standard square outlet box or, even better, a fire alarm bell back box. Unlike standard outlet boxes, back boxes protect your alarm bell’s wiring from dirt, dust, and debris. Wind and rain can quickly short the bell’s wiring if it isn’t properly protected, which makes back boxes especially critical if you’re mounting yours outside.

To install with a back box, simply fasten the included bolts in the holes that align the bell’s housing unit with the back box. The back box’s gasket will form an air- and water-tight seal.
Step 5: Reattach the gong (and bell guard)
Reinstall the gong. There are two holes on the gong itself — make sure they align with the positioning pins on the bell’s housing unit and re-tighten the bolt you removed in Step 2.

This is a good time to install your wire guard if you have one.
Step 6: Test the bell
Finally, test the bell to ensure that it is correctly wired and sufficiently loud. Each bell installed must be audible in all areas designated by the authority having jurisdiction (AHJ).
While it’s beyond the scope of this article, every bell installed as part of an NFPA 72 fire alarm system must meet specific audibility requirements that depend on the average ambient noise levels of the room. Wondering where to mount one for your sprinkler system — or whether you even need one? Check out this blog: “Where Does an External Sprinkler Alarm Bell Need to Be Mounted in Relation to a Fire Department Connection?”
Fire alarm bells at QRFS
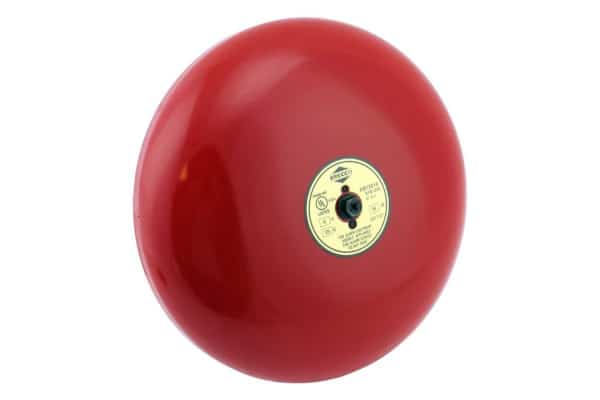
QRFS carries a complete line of 120-volt and 24-volt alarm bells in 6-inch, 8-inch, and 10-inch sizes. Each bell is UL-listed and covered in thick fire-engine-red enamel to prevent corrosion and resist weathering.
Weather-proof, wire-protecting back boxes and durable gong-protecting wire guards are also available for each fire alarm we sell. Click here to shop our selection of fire alarm bells and accessories.
Need more guidance on fire alarm bell mounting? Call us at (888) 361-6662, or email us at support@qrfs.com.

I would like to install a 10” 120 volt fire bell outside so I can be alerted by my wife when she needs me. I am hearing impaired and I would like this to be wired to a push button inside the house so she can access the ringer. What would I need to get this install by my professional electrician?
David — A professional electrician is better suited to advise you on how accomplish such a custom set-up. But the bells can of course be wired to any source of electricity.
If the bell is the last in the system. Do you put wires together or cap the remaining two (white, black)
Abb — Please consult a qualified electrician and/or contact the manufacturer. In the case of the fire bells mentioned above, it would be Lansdale/Brecco, who you can reach at (800) 908-0523.